The Ultimate Guide to Creating The Best Trello Content Calendar
February 28, 2022 · 15 min read
Trello is one of the most popular tools used around the world by thousands of marketing teams. It’s simple, easy-to-use and has all you need to manage editorial work successfully.
There are lots of moving parts that you have to keep track of when managing the content preparation process: deadlines, task allocation, team availability, constant updates and more. So, the best way to make sure everything will be done right and on time is visualizing your workflow on the calendar view.
In this article, we will tell you how to create a perfect content calendar for Trello just in a few easy steps so that you can have an immediate glimpse into your content work at any moment.
How to use Trello as a content calendar?
We, as a marketing team, use Planyway app for Trello to map out our content activities. Having a clear overview of all upcoming deadlines together with the team availability helps us plan work much wiser.
Below, we will share insights of how we organized our calendar and Trello boards with Planyway step by step so that you can try to build the same workflow for your team.
Lists help us track status
Our editorial calendar follows the kanban structure. All new content ideas are added to the Backlog list, and then they journey through stages from left to right until they are finally published.
Every label stands for a content category
Like any other marketing team, we create different types of content: blog posts, community articles, website pages, social media content, webinars, etc. On our content calendar, we’ve created labels for each type of content we make to bring more clarity of what we do.
Every card is a piece of content
For our team, each content piece is represented by a Trello card with the title and a description to give the team a clear understanding of what exactly should be done.
As the task goes from one person to another, everyone attaches results of their work to a card, so nothing is missed at the publishing point.
Publishing dates are scheduled on the calendar
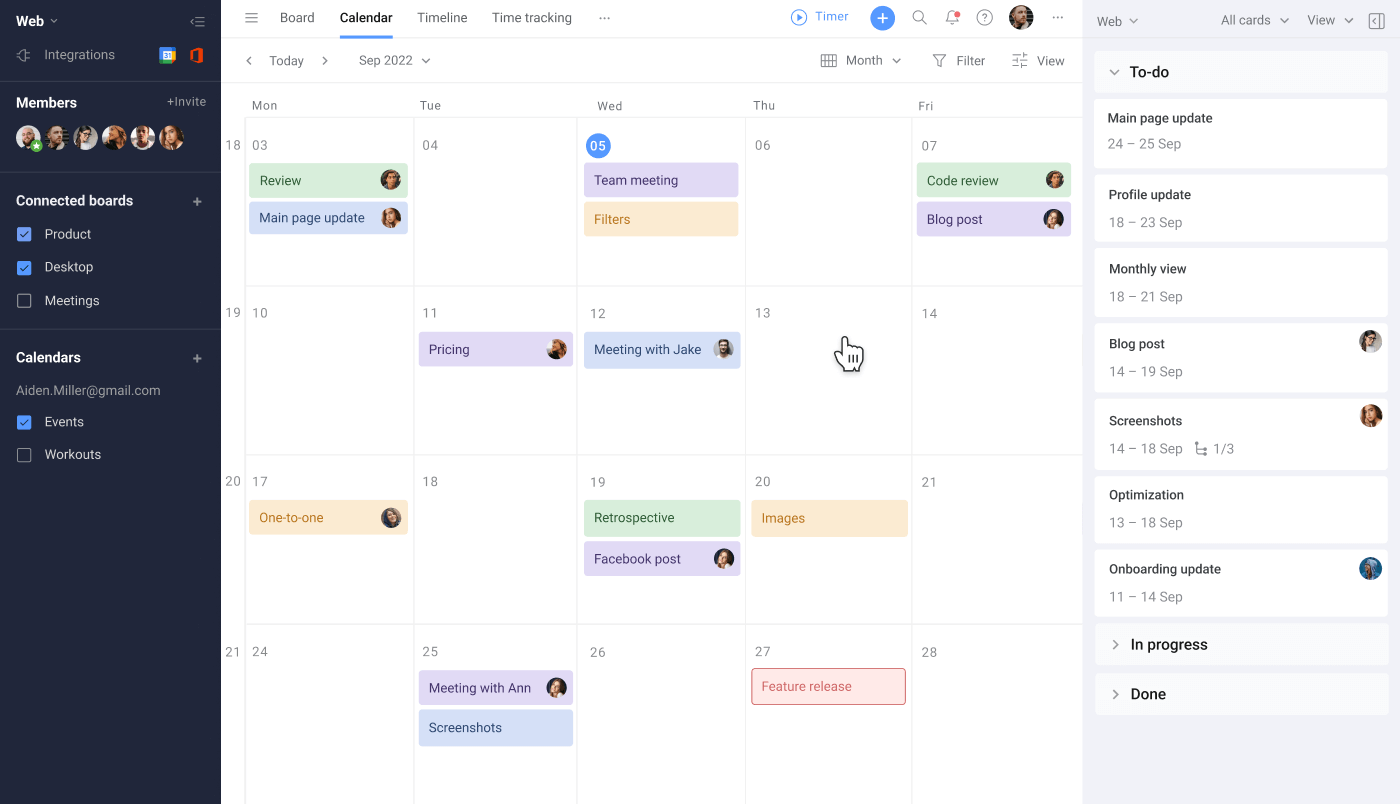
When the due date for publishing the content is set, the easiest way to visualize all deadlines is the calendar view. By opening the monthly calendar, you have a chance to see which cards are already scheduled and on which day.
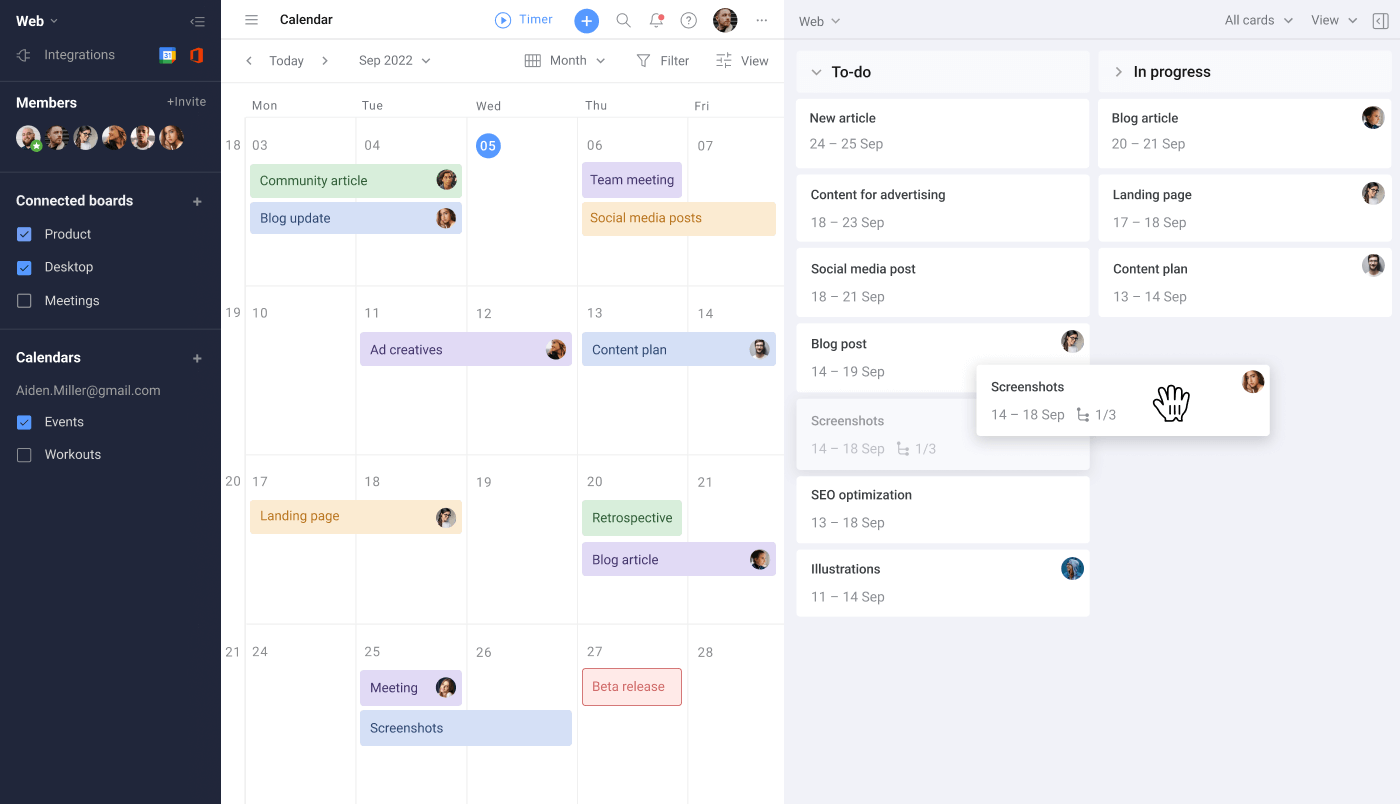
It is a must, as without it, you’ll be just looking at long lists of cards and labels that won’t give the deadline overview at all. Plus, scheduling cards with drag&drop makes planning out your content as easy as 1 2 3.
Subtasks let us split work by team members
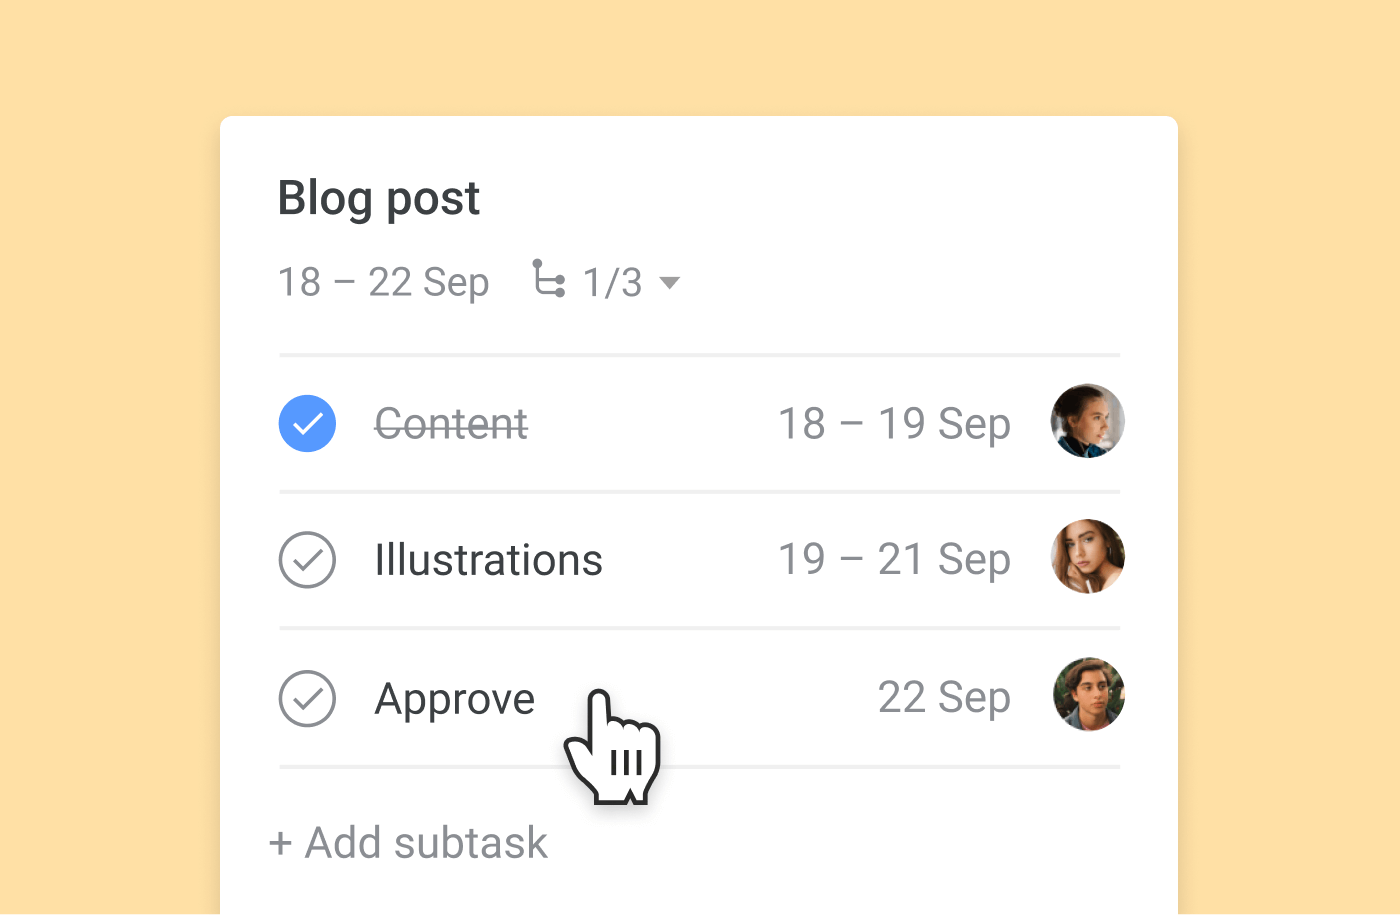
Any content piece includes several steps to be taken before it’s ready to be published: writing, design, video making, development, etc. As usually different people are in charge of each step, we recommend splitting big tasks into subtasks.
First, you’ll be able to see the checklist of all required work items so nothing is missed. Second, you could assign every piece of work to different team members, rather than allocating one card to all the team.
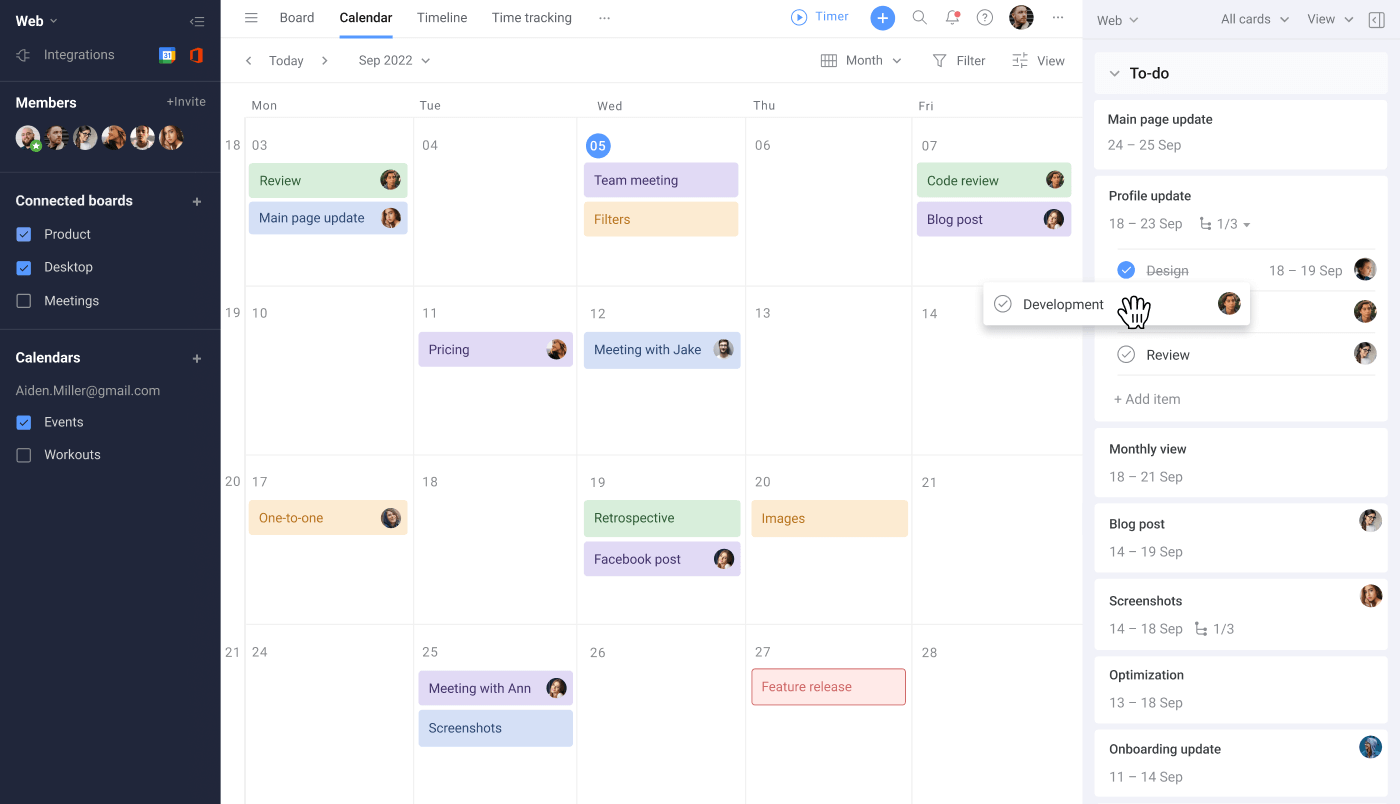
The subtasks can be visualized on the calendar along with parent cards if needed. In case you’d like to see only parent cards, you can turn them off.
Team timeline helps us plan resources
Team timeline is extremely useful for understanding your team capacity. You can keep track of your team availability and easily distribute new tasks across team members.
As we use Trello cards to visualize publishing dates, we leave them unassigned. While all subtasks are allocated and scheduled on the team timeline so that we can see who is doing what and when someone if free for another task.
Multiple boards can be visible on one page
When you only create content for one company or product, one board can be enough for you. But in case you work on behalf of an agency that juggles multiple clients, we believe that splitting them by boards makes more sense as it brings a better structure.
Splitting clients by boards may seem confusing at first, as you still need to see your full team availability on one page and be able to track all deadlines together. But having a multi-board view will help you sort it out.
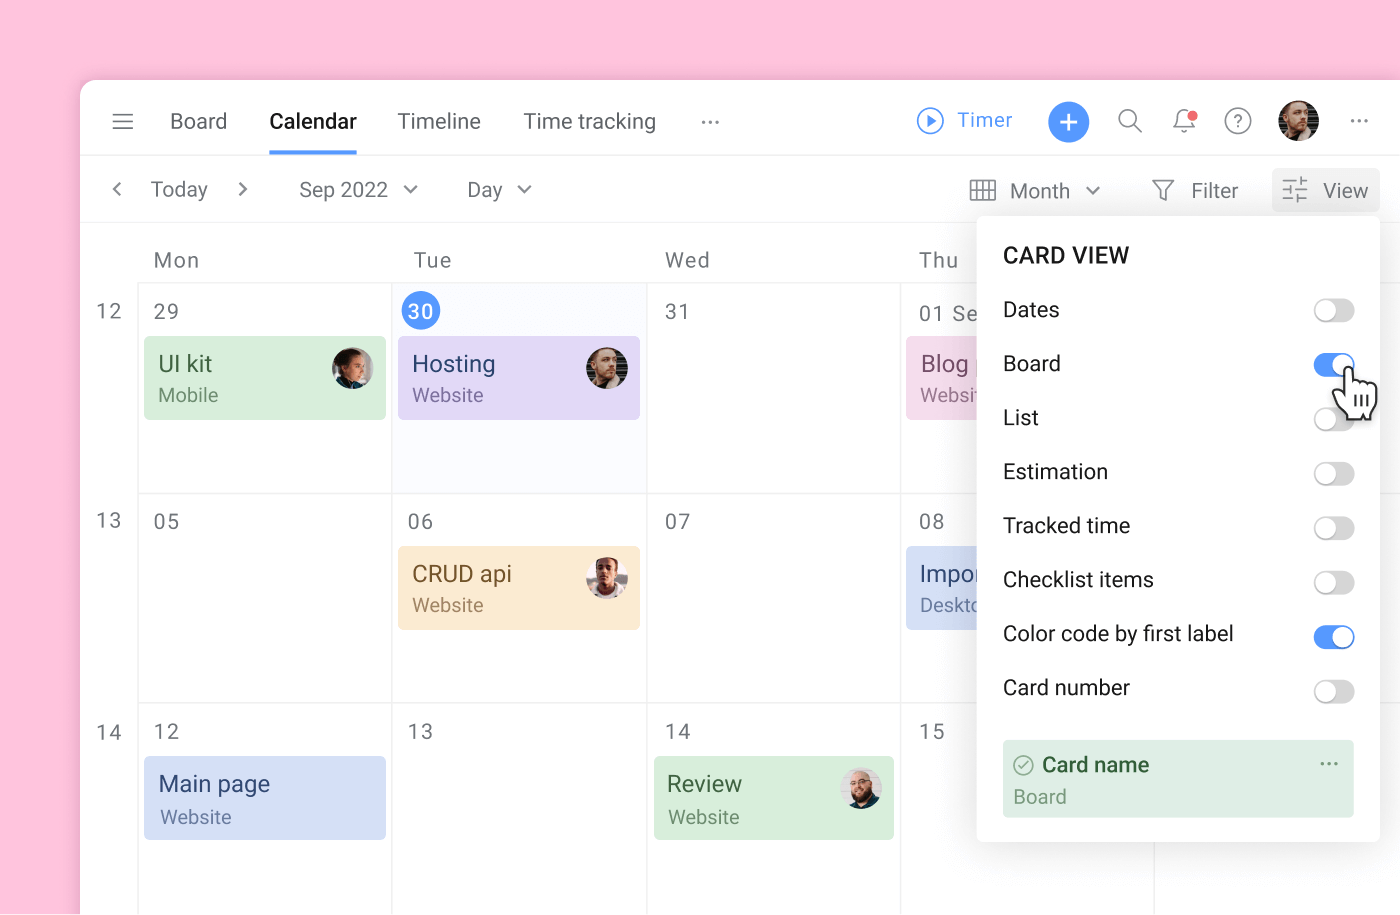
Connect any number of boards you need and visualize cards together on the calendar or timeline.
If you want to see at glance where each card belongs to — simply add the Board field to the card cover.
Complete status shows when work is done
In order to move from stage to stage easier, we recommend marking cards/subtasks as complete. This way you let other team members know that your part of work is done , and the next person can get into.
Have a check before release
Apart from the tasks where you have the deliverable whether it’s an image, text, video or animation video, we also include approvals into the checklist to make sure that all content is carefully checked before publishing.
Improving team communication is always a good idea
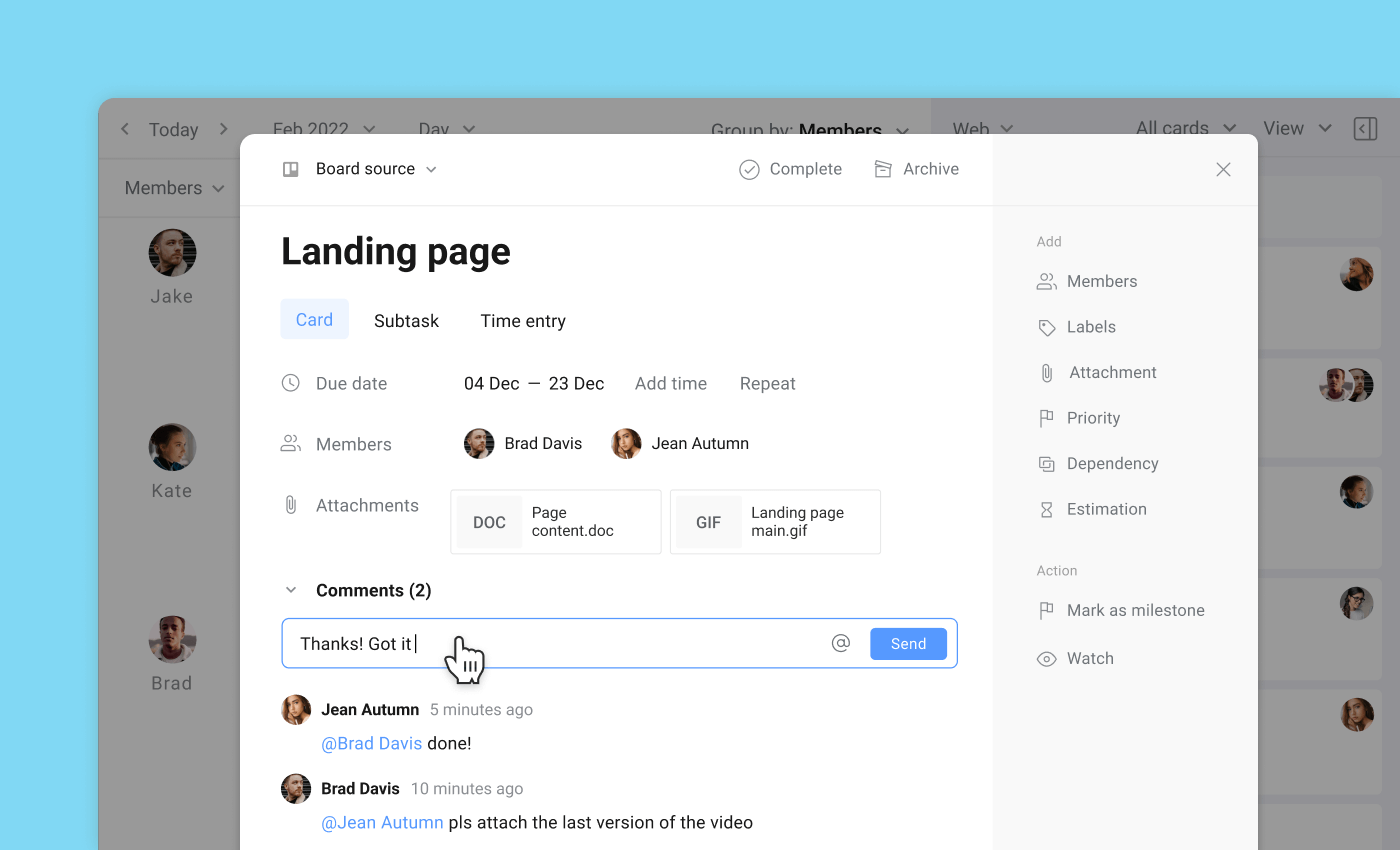
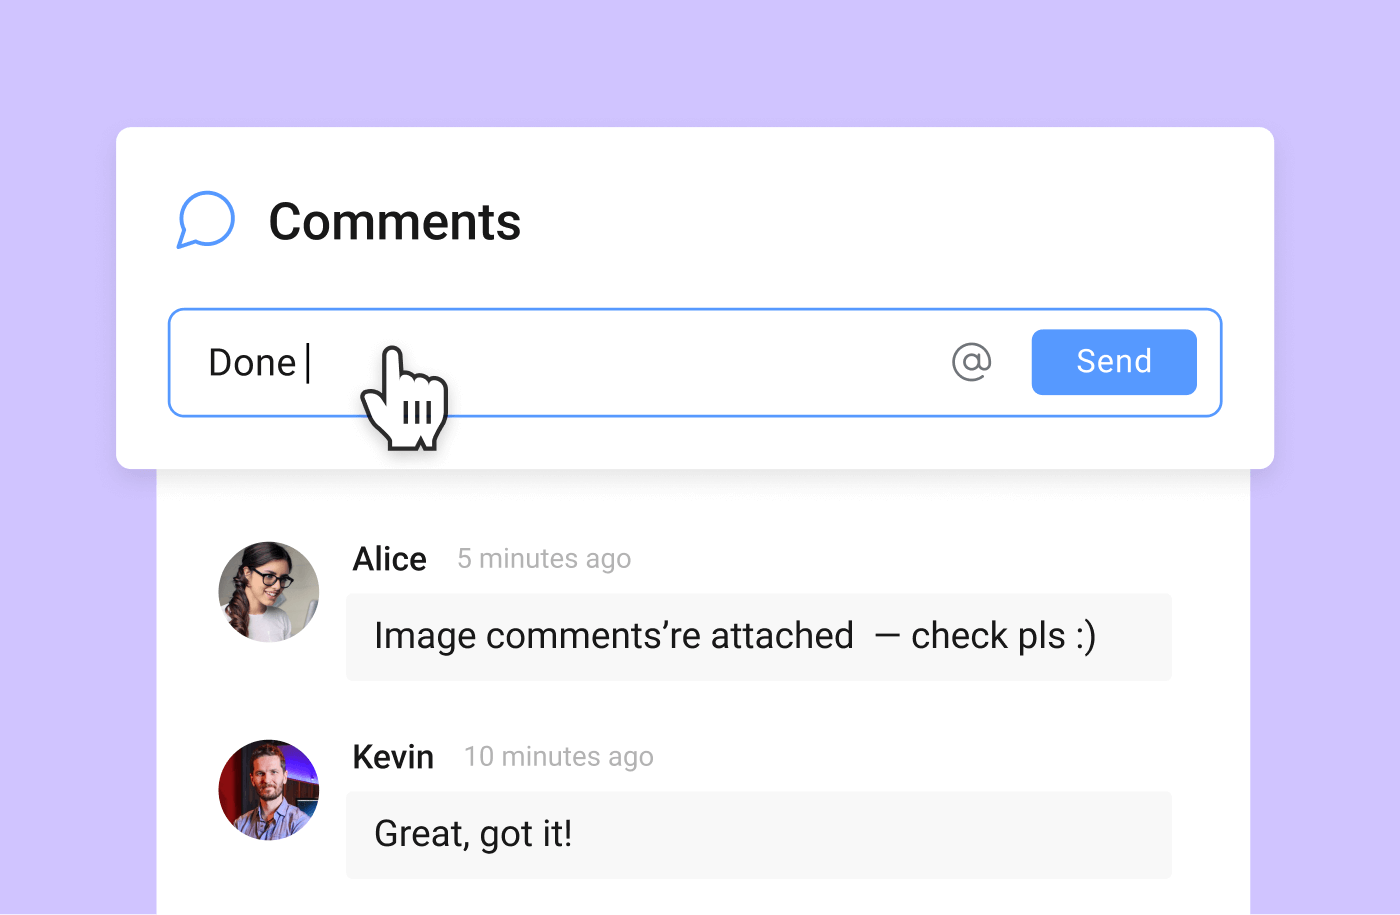
If your team members have any questions about what they have to do, or at the approval stage there are some corrections that need to be made, the Comments feature will be a great help.
Here you can leave any feedback and questions task-related, so everyone stays in context. Plus, by mentioning people, they will receive a notification immediately and reply fast.
Final thoughts
We hope that our Trello content calendar template will help you set up your own workflow and guide you when creating your own content calendar.
Don’t forget that Planyway is very flexible and in case you have extra needs that haven’t been covered here, we’re sure that it’s possible to close them with ease. You can reach us at support@planyway.com for more tips.


